Skip to content

Overview

VisionAI Toolkit by Visionify

VisionAI Apps for Workplace Safety. Pretrained & Ready to deploy.

Documentation Test Status Package version


Documentation: https://docs.visionify.ai


Overview

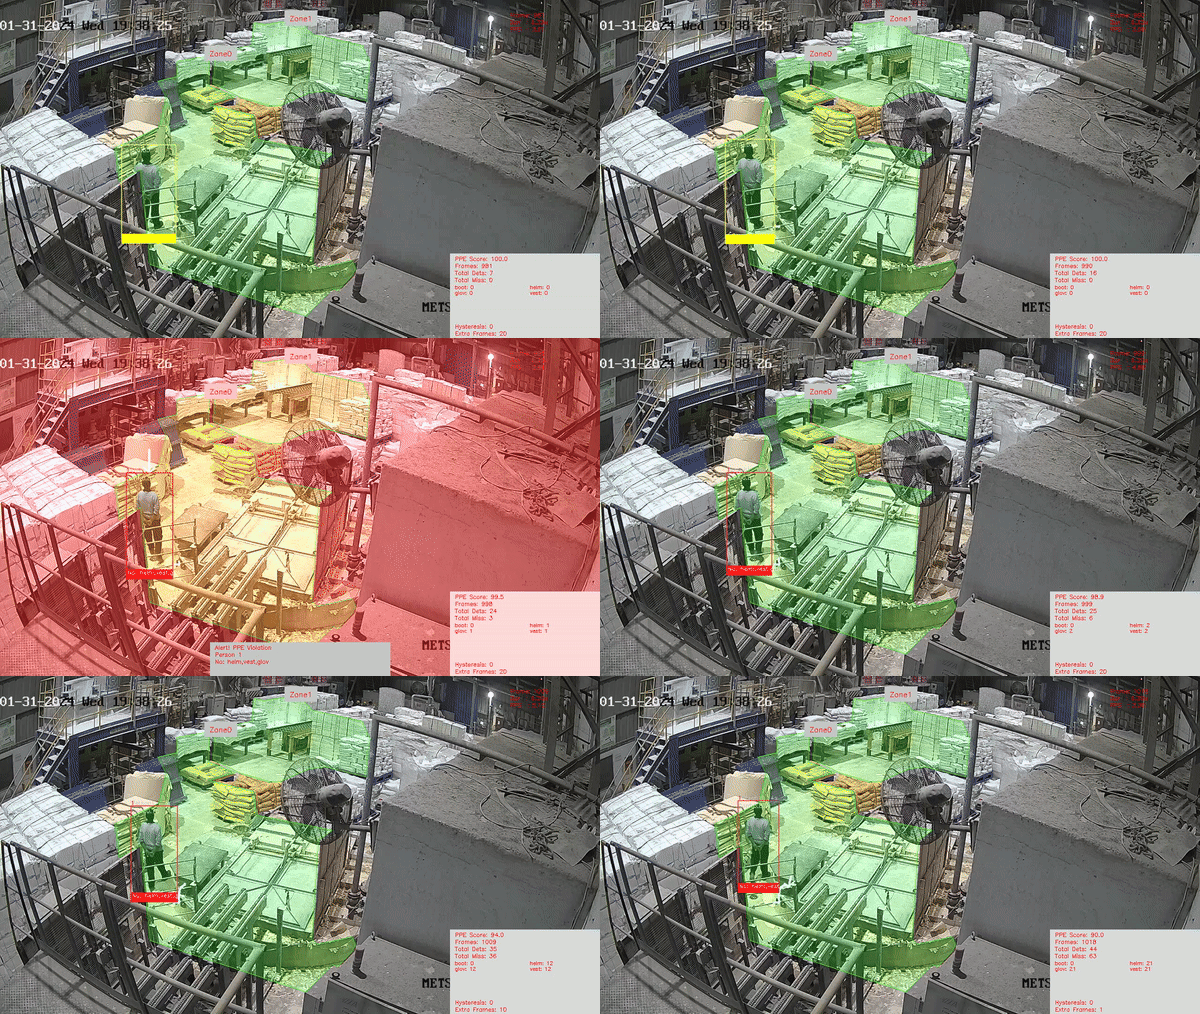
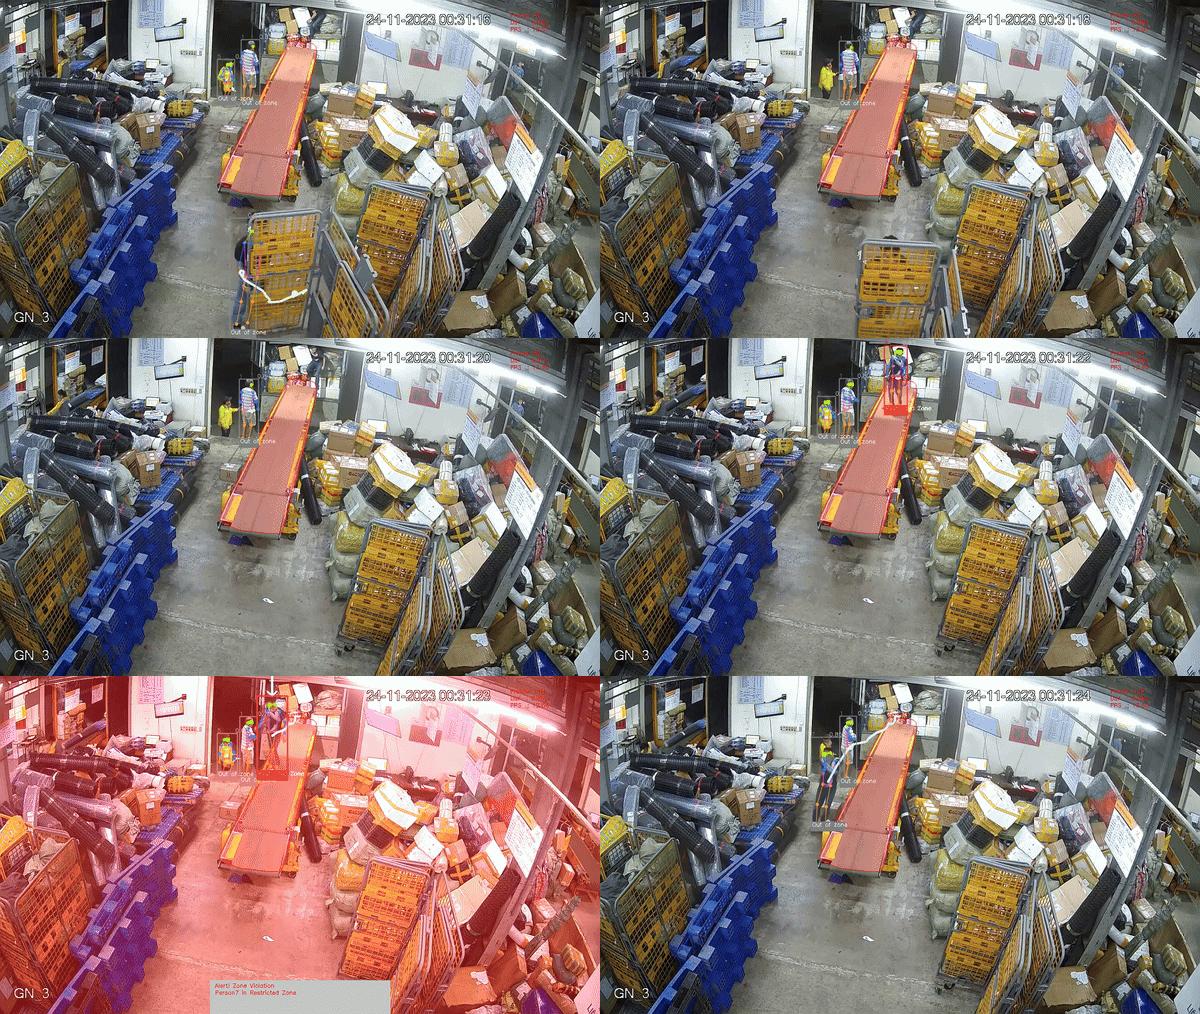
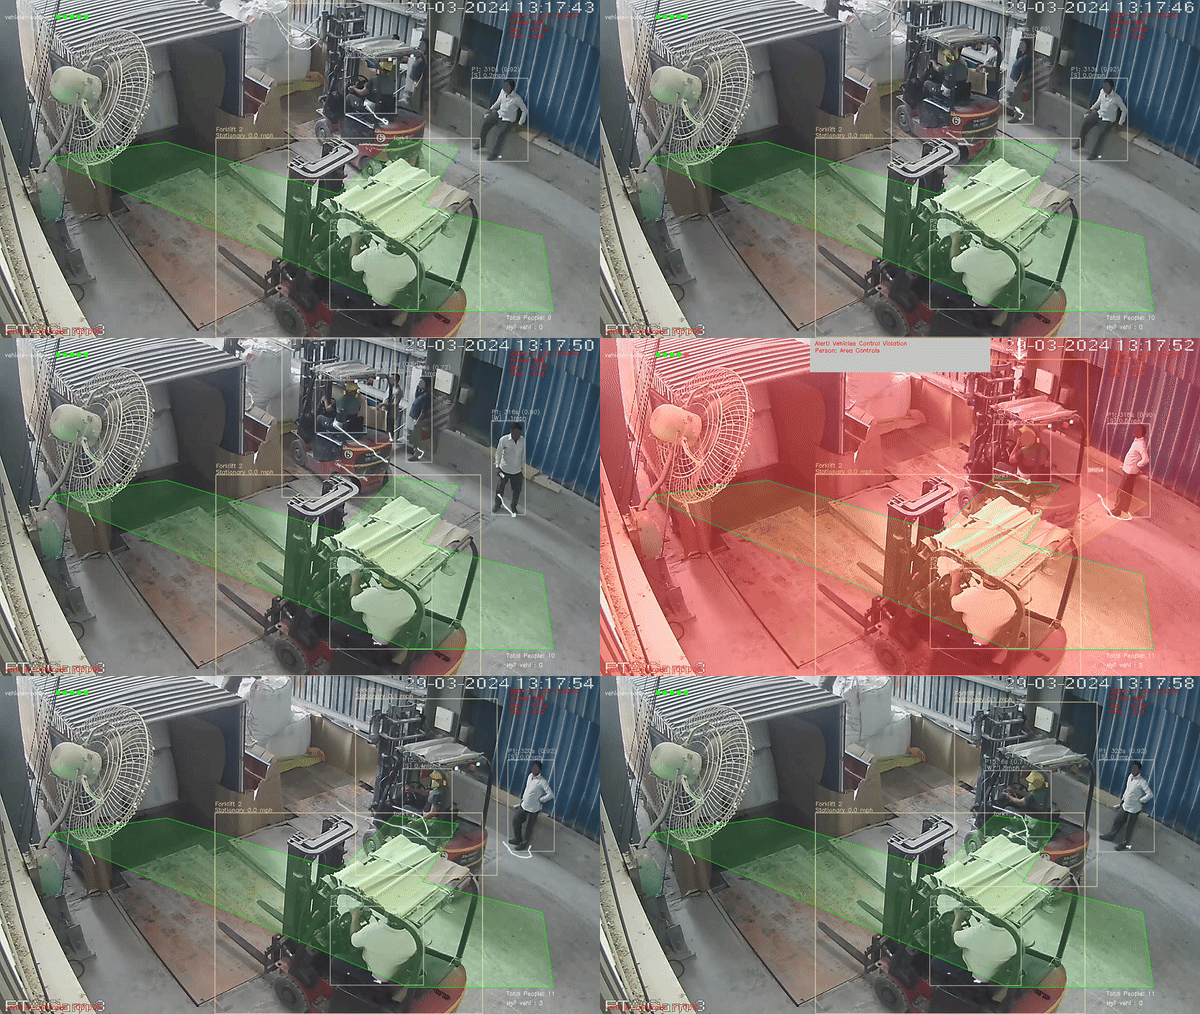
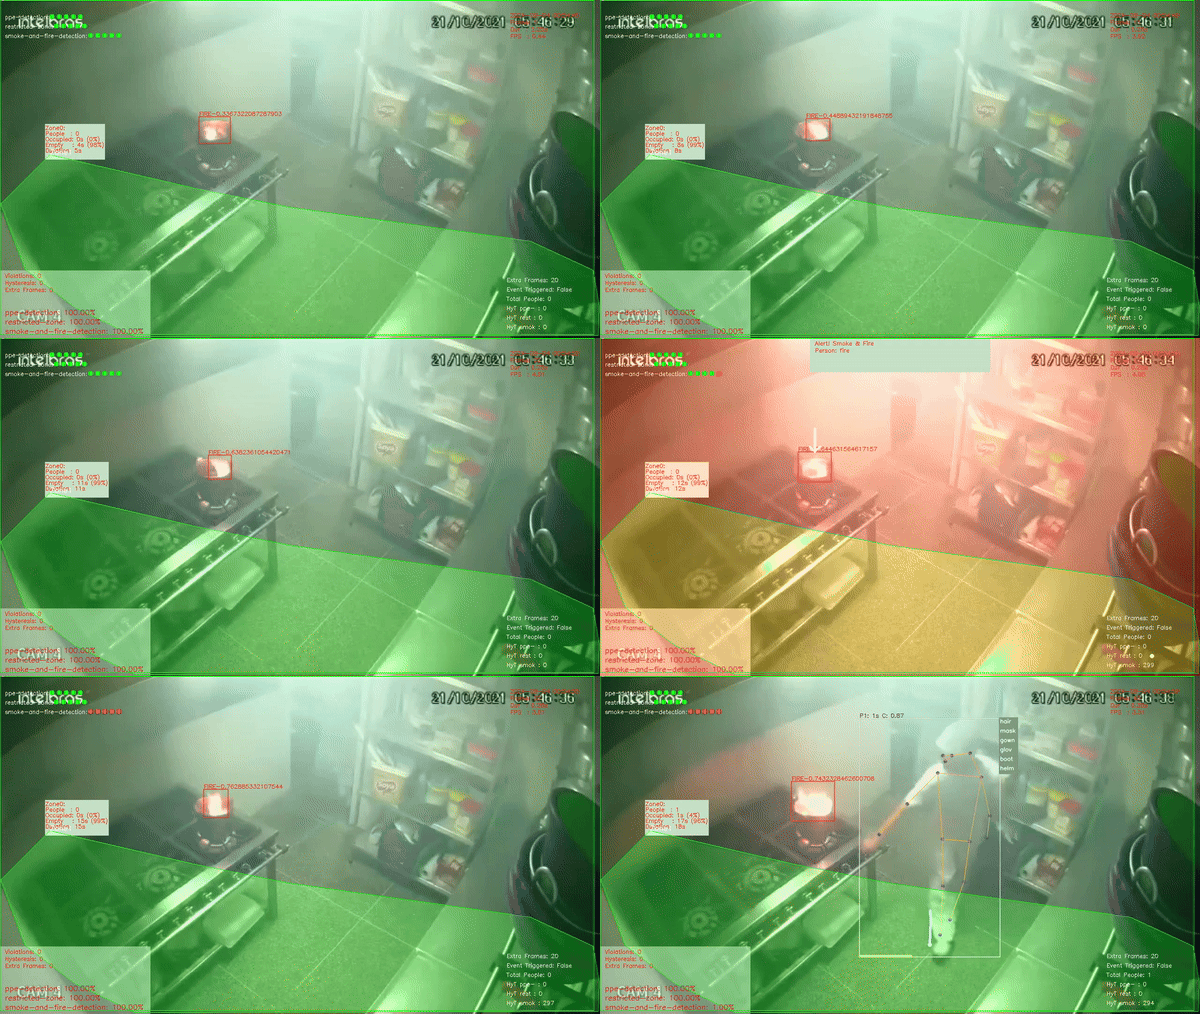
VisionAI offers a collection of pre-trained apps tailored for workplace safety use cases. Developed by Visionify as part of the Workplace Safety suite, VisionAI is ready for production deployment and accessible through web-based GUI.

What is VisionAI?

  • A Platform to run AI scenarios for CCTV cameras.
  • Choose from the list of scenarios here for workplace safety & building security.

How does it work?

  • Migrate CCTV feeds to the cloud. Manage cameras, choose AI scenarios and configuring alerting from cloud.

Key features of VisionAI include:

  • No hardware installation: Works with any IP/security cameras using RTSP streams. No need to install any new cameras, sensors, or other hardware.

  • User-friendly: Easy-to-use web interface for managing cameras and associated apps, catering to both technical and non-technical users.

  • Production-ready: Apps are trained on diverse, carefully curated datasets from industrial and academic sources, ensuring out-of-the-box functionality.

  • Customizable: Allows app customization and model fine-tuning with a flexible architecture based on the NVIDIA Triton server. Refer to customization documentation for more details.

  • Integrations: VisionAI currently integrates with Azure Event hubs, Redis PubSub for reports, alerts and notifications. We have roadmap plans to add support for other message brokers as well.

VisionAI Apps

VisionAI offers a variety of workplace health and safety scenarios, with continuous development of new use cases. View the complete list of VisionAI Apps here. If you require a specific scenario not listed here, feel free to contact us.

Our primary focus is on workplace health and safety models, but we are expanding our scope to include Quality Inspection, Food Safety/Debris Detection, and more. These additional scenarios are available to customers on a case-by-case basis.

Quick Start

Prerequisite

Operating System(OS)

Ubuntu 22.04

Docker

  • Install Docker Engine and Docker tools
    Open a terminal window and run the following commands to install Docker Engine, Docker CLI, Docker Compose, and Docker Buildx plugin:

    sudo chmod a+r /etc/apt/keyrings/docker.gpg
    sudo apt-get update
    sudo apt-get install docker-ce docker-ce-cli containerd.io docker-buildx-plugin docker-compose-plugin
    

  • Grant permissions to Docker
    Run the following command to grant permissions to Docker:

    sudo chmod 666 /var/run/docker.sock
    
    This will avoid the error that may occur during fetching the server API version.

Disc Space

VisionAI application uses Docker containers to run the apps and the Docker images are large in size. Minimum of 100GB of free space is requied on the host machine.

RAM requirement

VisionAI application requires minimum 16GB RAM to run the apps.

GPU

VisionAI is a Video-based AI platform that uses GPU for inference. It is recommended to use a GPU with at least 8GB of memory for optimal performance. VisionAI supports NVIDIA GPUs only - Following are a few recommended options:

  • NVIDIA GeForce RTX 2060/RTX 2060 Ti
  • NVIDIA GeForce RTX 3050/RTX 3050 Ti
  • NVIDIA P40
  • NVIDIA A100

Internet Connectivity

During initial download and setup portion of VisionAI application, we would need good internet connectivity in order to download the required dependencies and Docker containers. Once the setup is complete, VisionAI can be used offline.


License

You can purchase license by contacing us: sales@visionify.ai

For any queries related to VisionAI toolkit usage: support@visionify.ai


Installation

  • Upgrade pip to the latest version
    $ pip install --upgrade pip
    
  • Install VisionAI through PyPI:
$ pip install visionai
---> 100%
Successfully installed visionai
  • Update to the latest version, if already installed:
$ pip install --upgrade --force-reinstall visionai
  • Initialize VisionAI to download and install dependencies (Docker, Pytorch, NVIDIA Triton, etc.):
$ visionai init
  • Upon successful initialization, you should be able to see the following services running:

Service Port Purpose
Web UI http://localhost:3001 VisionAI Web-app
Web API http://localhost:3002 VisionAI API service
Triton HTTP http://localhost:8000 Triton Model server (http)
Triton GRPC grpc://localhost:8001 Triton Model server (grpc)
Triton Metrics http://localhost:8002 Triton Model metrics server (prometheus)
Redis redis://localhost:6379 Redis server, currently supports PUBSUB

VisionAI Web Application

  • VisionAI supports a web-based option for managing cameras, scenarios.

  • You can manage cameras, scenarios, see events etc., directly on the web-app. The web-app is running your own local compute instance. All the data is saved in your machine, and it is persistent as long as VisionAI application is not uninstalled.

VisionAI Web-app

VisionAI web-app is a software application that runs in a web browser. It is designed to provide a user-friendly interface and functionality that can be accessed from any device, without the need for installation on the device.

Open http://localhost:3001 in the browser. Use your default username/password as master/master. After this, you will be asked to create a new admin user. Please use a strong password and create an admin user.

Cameras

Once you are signed in, you will see a blank dashboard page. Let’s add an IP camera to the system. In order to do this, go to “Cameras” tab on the left menu and Click on the + button.

A new pop-up window will appear to add cameras. You can enter the camera name, description, and RTSP URI for the camera. The RTSP URI can be obtained from the Camera or NVR documentation. You can ignore the other fields as they are optional. Click on “Add” button.

VisionAI Web Application

Once you have added the camera, it should appear on the Cameras window and should show the initial streaming for the camera. Add any additional cameras in a similar fashion. Once all cameras have been added, the front-screen should look like this:

VisionAI Web Application

Scenarios

We can enable Vision AI scenarios for each of these cameras. In order to do this, go to Scenarios tab on the left menu to browse through the available scenarios.

VisionAI Web Application.

This shows details about the Scenario, the model version used, events supported and model accuracy, recall and F1 score metrics. You can now click on the “Get this” button again to apply the scenario to cameras.

VisionAI Web Application.

In the next page, Select the Cameras for which you want to apply this scenario.

VisionAI Web Application

Click "Save and Next". In the next page, you can specify email and text message notification settings. Provide the email address and phone number you want to be notified at and click "Save and Next button"

VisionAI Web Application

On the next page, it will ask you to confirm your settings. Click Submit. VisionAI will now download these models and start running them for these scenarios.

Redis

  • VisionAI supports out-of-box integration with Redis, Prometheus, Grafana and Azure Event Hub. Once the web-app is started, you can view the Grafana dashboard at: http://localhost:3003. The default username and password is admin/admin.
Redis server is at: redis://localhost:6379

Next steps

Congratulations! You have successfully configured and used VisionAI toolkit. You can also browse through our scenarios section to understand different use-cases that are supported currently. If you have a need for a scenario, do not hesitate to submit a request here.