Next steps
This provides a comprehensive guideline for the VisionAI toolkit's access path.
-
Access the visionAI Web-app
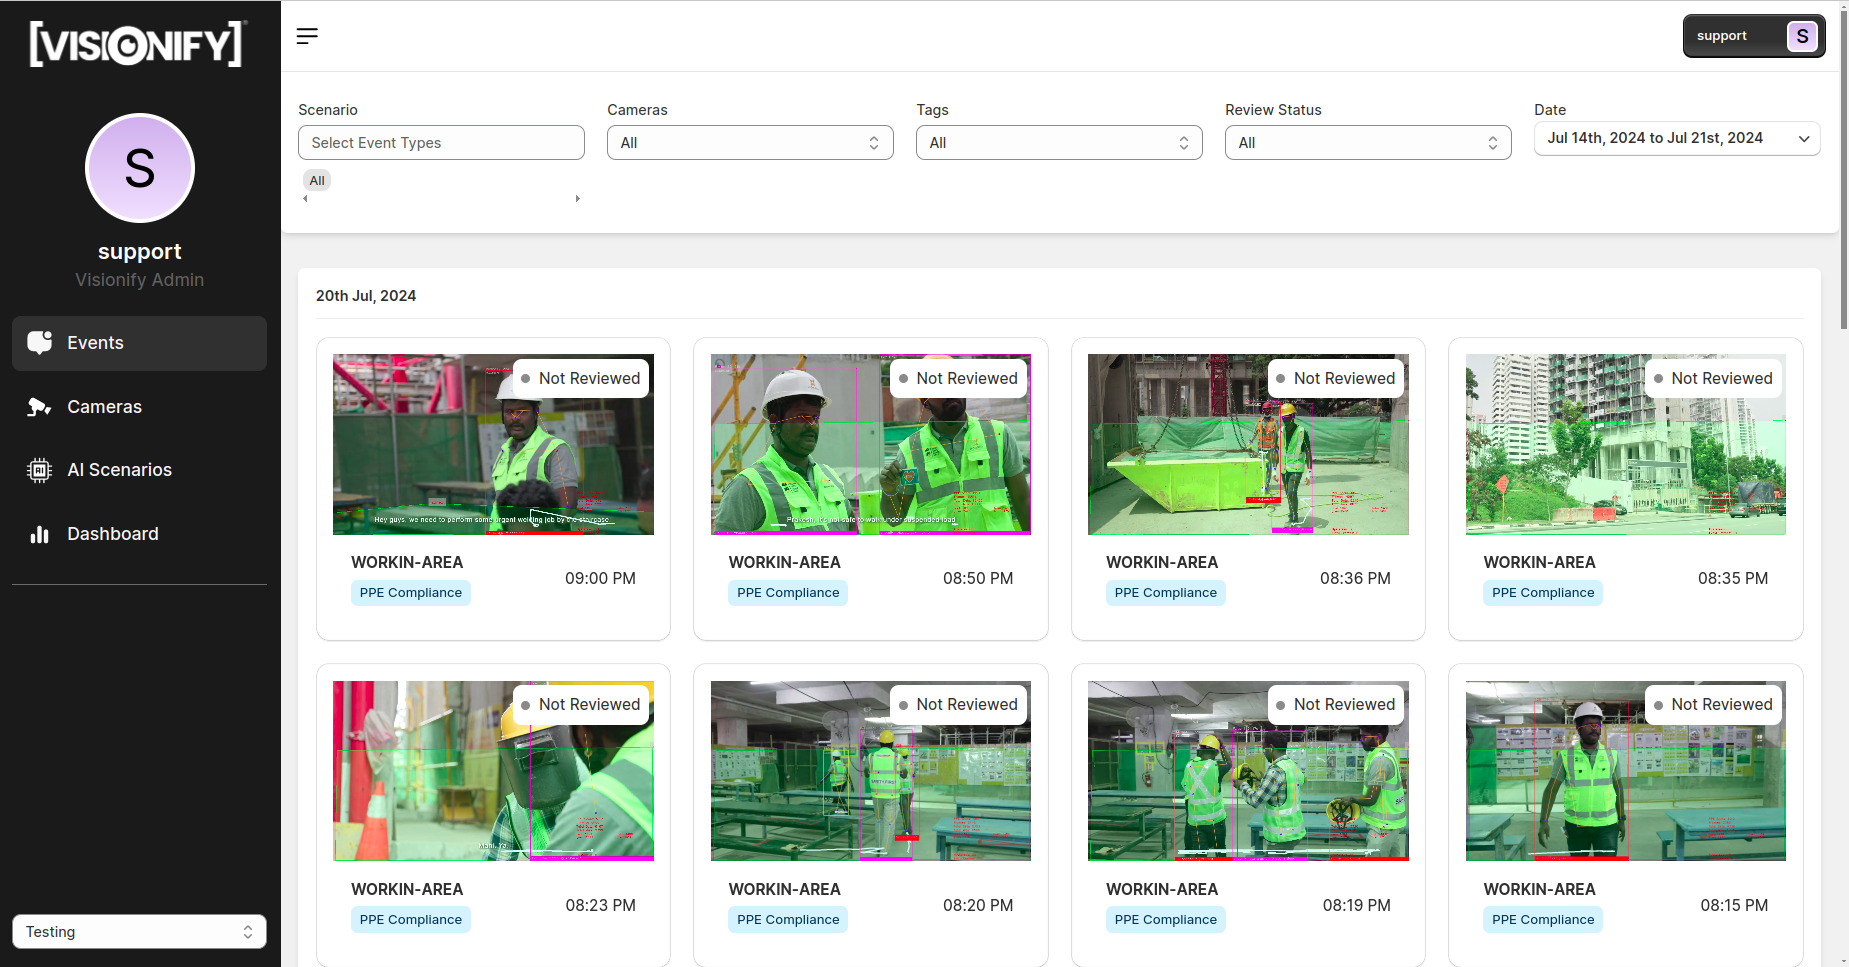
VisionAI web-app, a software application that runs in a web browser and designed to provide a user-friendly interface and functionality that can be accessed from any device with an internet connection, without the need for installation on the device. It can be accessed by here.
The app has built-in functionality to accomodate different scenarios and wide range of camera instances.
-
Access the Azure Managed-app
The VisionAI Azure Managed application is intended to provide customers with a quick and secure way to deliver applications and services while maintaining consistency and control.
VisionAI Azure App is accessible by logging into Azure Market Place.
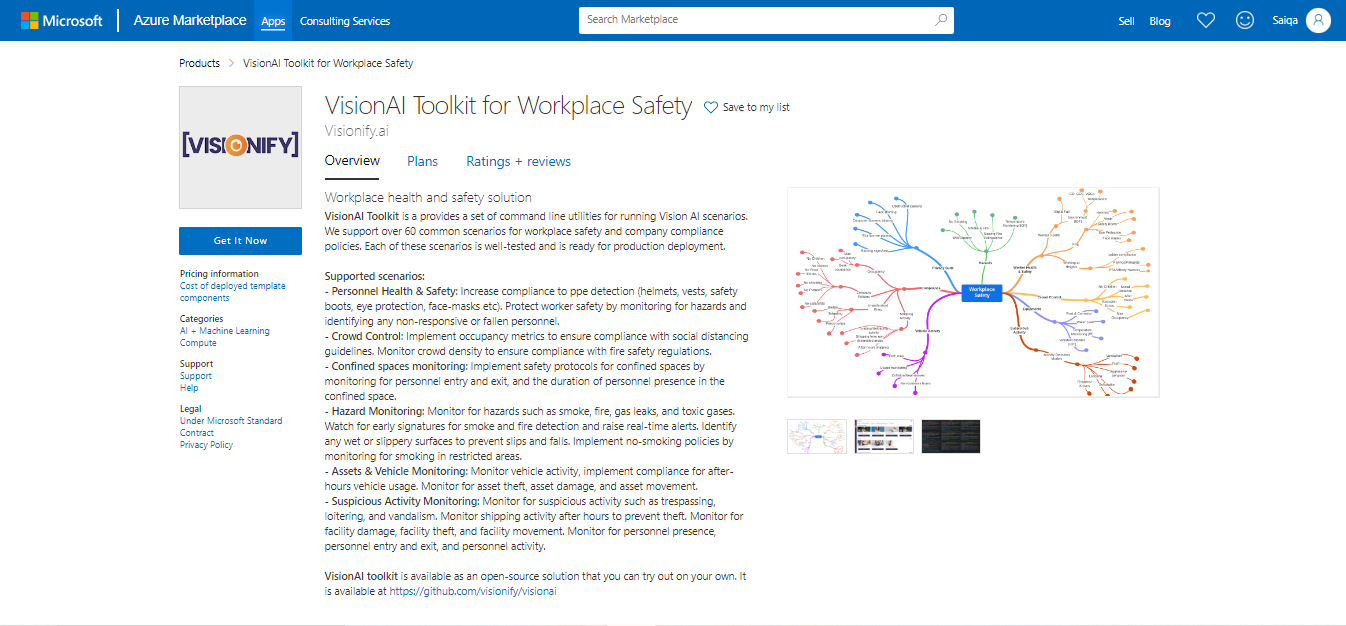 The appeared screen shows its Overview, different plans and ratings. To access it, click on Get it Now and follow the sequence of steps.
 Find more details about these sections here.
In summary, the VisionAI toolkit is accessible via direct installation, web-app, and Azure managed app. This makes it more adaptable and dynamic.